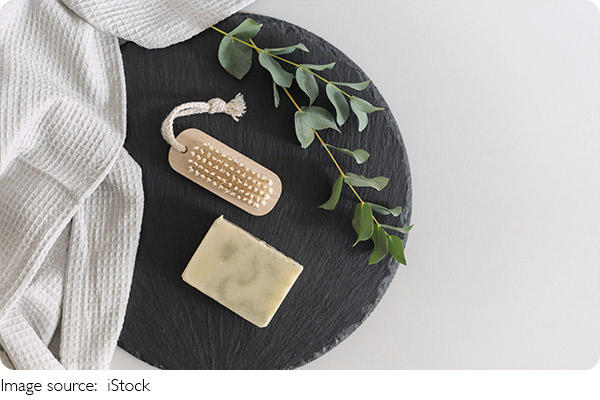
DIY Handmade Soap

Handmade soap isn't just for washing; it's a fun way to treat yourself with natural ingredients.
Unlike store-bought soaps that have synthetic additives, homemade soap lets you choose everything from nourishing oils to lovely fragrances.
Whether you're making special gifts or enjoying a luxurious bath, making your own soap can be a fun and rewarding project. In this guide, we'll look at two popular ways to make soap at home: the traditional cold process method and the beginner-friendly melt-and-pour technique.
1. Cold Process Soap Making
The cold process method involves mixing lye (sodium hydroxide) with oils to start a chemical reaction that makes soap. Handling lye requires care because it is caustic.
Ingredients:
• Oils: Common choices include coconut oil, olive oil, palm oil, and shea butter.
• Lye: Sodium hydroxide.
• Water: Distilled water is best.
• Additives: Essential oils for fragrance, natural colorants, or exfoliants.
Equipment:
• Safety goggles and gloves
• Digital kitchen scale
• Mixing containers (glass or stainless steel)
• Stick blender
• Soap molds
• Thermometer

Instructions:
1. Prepare Your Workspace: Work in a well-ventilated area and cover surfaces to protect from spills.
2. Measure Ingredients: Use a digital scale to accurately measure oils, lye, and water.
3. Mix Lye Solution: Carefully add lye to water (never the other way around) in a heat-resistant container. Stir until dissolved, then let it cool.
4. Heat Oils: In a separate pot, gently heat your oils until they reach about 100°F (38°C).
5. Combine: Once both the lye solution and oils are at similar temperatures, slowly pour the lye solution into the oils while blending with a stick blender until the mixture thickens.
6. Add Fragrance and Color: Stir in any essential oils or colorants.
7. Pour into Molds: Transfer the mixture into soap molds and cover them with a towel to insulate.
8. Cure: Allow soap to sit for 24-48 hours, then unmold and cut. Cure the soap in a cool, dry place for 4-6 weeks to complete the process.
2. Melt-and-Pour Soap Making
This method is perfect for beginners as you don't need to handle lye. You simply melt a pre-made soap base and customize it.
DIY Melt-and-Pour Soap Bars | Soap Making At Home
Video by HGTV Handmade
Ingredients:
• Soap Base: Glycerin, shea butter, or any other melt-and-pour base.
• Additives: Essential oils, colorants, or botanicals.
Equipment:
• Microwave-safe container or double boiler
• Silicone molds
• Mixing tools (whisk or spatula)
Instructions:
1. Melt the Soap Base: Cut the soap base into small pieces and melt it in a microwave or double boiler until fully liquid.
2. Add Fragrance and Color: Stir in your chosen essential oils and colorants.
3. Pour into Molds: Carefully pour the melted soap into molds.
4. Cool and Unmold: Let the soap cool at room temperature until solid, which can take from 30 minutes to a few hours, depending on the mold size.
5. Enjoy: Once solid, pop the soap out of the molds, and it's ready to use.
Safety Precautions
When making soap, especially with lye, safety is very important. Always wear protective gear, work in a well-ventilated area, and keep lye out of reach of children and pets.
Conclusion
Handmade soap can be a fun and fulfilling project that allows for creativity and customization. Whether you choose the traditional lye method or the easier melt-and-pour approach, you'll end up with unique soaps that reflect your personal style and preferences.
Enjoy experimenting with different scents, colors, and textures to create your perfect bar of soap!

 · Lifestyle Team